Sunday, October 26, 2014

Longing for Winter

I Skyped my parents today and they told me that they've already turned on the heat at home. What!?

Oh, right, forgot we're in October (almost November) and other places--outside of Austin--start getting chilly this time of the year.


I know there are plenty of people who can't deal with cold weather; plenty of people that prefer endless sunny (and warm) days. However, I'm not one of them. I actually enjoy the change of seasons and I certainly don't mind cold weather--I actually like it to a certain extent. And I love snow. Don't get me wrong, I won't spend my years in Austin complaining about the sunny days, because that would just be preposterous. But, every now and again, I'll express my longing for temperatures in the lower digits accompanied by flurries (an inches on the ground) of snow. I'll even take the occasional slush-storm if it means I can have a snow day later on!


In other news, this weeks marks the last of the so-called fun days of my first semester in law school. Apparently I'm about to embark towards the scary depths no-fun November and then the utterly feared finals period in December. I'll try not to fret it too much just yet, but this might be one of the last posts you see this year. But let's hope not.

Here's my dinner from tonight.


Cauliflower pizza! This is a dish I've been wanting to add to my repertoire for quite some time, and tonight I finally got to do so. Yes, it is as odd as it seems (at least to all of us who were oblivious to the wonders of alternative cauliflower uses); and yes it is as delicious as it sounds (at least to all of us veggie-loving-health-freaks). I subbed some ingredients with what I had at home, but I'm sure any pizza topping would taste delicious.


Cauliflower Pizza Crust (adapted from iFOODreal)
Active time: 30 minutes; total time: 1hr15mins.
Makes about 6 servings.

  • 1 head cauliflower (about 7" wide)
  • 1 large egg
  • 1/2 cup parmesan or mozzarella cheese, grated or shredded
  • 1 teaspoon dried basil
  • 1 teaspoon dried oregano
  • Pinch of salt
  • 1/4 teaspoon ground pepper
  1. Preheat oven to 350F and spray a large cooking sheet with cooking spray. 
  2. Rinse cauliflower, remove leaves and cut into florets. Place florets in a food processor (Ninja Blender in my case) and process until it resembles a fine rice mixture; some chunks are fine. Transfer to prepared baking sheet and cook for 15 minutes.
  3. Remove cauliflower mixture from oven and transfer to a bowl lined with 3 layers of cheese cloth. Using your hands, squeeze out as much liquid as you can, patiently squeezing about 15-20 times. 
  4. Bring oven temperature to 450F. Line a pizza baking sheet (or regular baking sheet) with parchment paper.
  5. Transfer dry cauliflower mixture to a large bowl and mix in egg, cheese, spices, salt and pepper. Transfer dough to prepared baking sheet and press with fingers until about 1/2-inch thin. Cook for 20-25 minutes, or until golden .
  6. Remove crust from oven and top with desired toppings. Return to oven and cook for about 10 minutes, or until cheese is melted and toppings are cooked. 


Sunday, October 12, 2014

Not your ordinary pasta

Today was the 2014 Bank of America Chicago Marathon. What does that have to do with me you ask? 


Well, up until a month a go I planned to run it; up until two months ago, I planned to use it to qualify for Boston. Instead here I am, in Austin, on a two-week (possibly longer) running hiatus. 

Needless to say, I'm a sad blogger today. It's not just the fact that I lost a chunk of money buying my entry, or the fact that my medal collection didn't grow as expected. What really hit me was seeing photos and posts of my running buddies. I'm not going to lie, I'm pretty jealous of them. 


I'm jealous of the pre-race jitters they got this past week; of the immense amount of carbs that they had to eat for three days in a row; and of the group run they went on around the windy city on Saturday. I'm jealous of the queasiness some of them felt as they made their way to starting line; or the regret that overcame them as they passed mile 10 and realized they weren't even half way there; or of the annoyance of having to gulp water without trying to splash their faces. But what I'm most jealous about is that feeling of utmost triumph they all (probably) got as they crossed the finish line.


... Anyways. I'll try not to get hung up on it and instead share my dinner from tonight. 

This is the first time I've experimented with spaghetti squash and all I can say is where was this vegetable hiding! Here's a recipe I found online; it's simple and healthy--did you think I'd post otherwise? But it's also delicious and versatile. Sub in marinara sauce for the mushroom add-on or any other addition you would put on pasta and you've got yourself a meal.


Spaghetti Squash with Mushrooms & Shrimp (adapted from Pickled Plum)
Active time: 15 minutes; total time: 50 minutes
Makes 4 servings
  • 1 small spaghetti squash (about 3 lbs)
  • 3 tablespoons extra virgin olive oil
  • 1 tablespoon fresh thyme
  • 4 cups sliced portobella mushrooms (about 16 oz)
  • 1/4 cup parmesan cheese 
  1. Preheat oven to 450F. Line a baking tray with aluminum foil.
  2. Using a large knife, split the squash down the middle--I found it easiest to strike once and then keep sticking (with the knife still in the squash) until it was almost sliced through; then I removed the knife and split the squash with my hands. Remove and discard seeds. Season squash with 1 tablespoon olive oil, salt, and pepper. Place flesh side down on baking tray and cook for 30-40 minutes, until soft and slightly browned on the bottom.
  3. When squash has about 20 minutes left, heat remaining olive oil in a large skillet over medium high heat. Add thyme and mushrooms and cook, stirring, until mushrooms are browned, about 5 minutes. Remove from heat.
  4. Remove squash from oven and set aside until cool enough to handle. Using a large spoon, scrape the inside of the squash into the skillet with the mushrooms. Place over medium-high heat and cook for about 5 minutes, until squash looks golden. 


Sunday, October 5, 2014

Turkey Burgers and Kale

Hello October.


Right. I can't believe it either. It feels like just yesterday I was flying into Austin, nervously waiting to get off the plane and make my move official. No, actually, it feels like not so long ago (January) I was complaining to my parents about how I had nothing to do and I was bored all day. Ha! Don't I wish I could turn back time--or at least stop it.

Well, surprise, I can't! And it's just going to keep going faster and faster--or so I've been told. So I think the only way I'm going to be able to deal with it is with food, food and more food.


Before I get into today's recipe. Let me share my most current woe. Every weekend (almost) I head out to the grocery store on my bike. I bring along my backpack, my two Ortliebs (bike bags), and a spare Whole Foods reusable bag (and no unfortunately I don't shop at Whole Foods on a weekly basis); of course I also bring a list, a pen, and my wallet. But that's it.

As I make my way to the store I wonder if today might be the day when I can fit everything without having to pull aside next to the cash register and organize everything neatly. It's tough, and it breaks my heart, but I always have to choose between an extra yogurt container or another pack of sliced turkey.


Just kidding. It's actually just the quirk that my type A personality needs after a long week of studies. Since I can only fit a certain, small, amount of groceries, I really have to think about what I'll be consuming during the week. And you know what? It's actually not that bad: having to think about each and every thing I buy makes me appreciate that last spoonful of yogurt that much more!

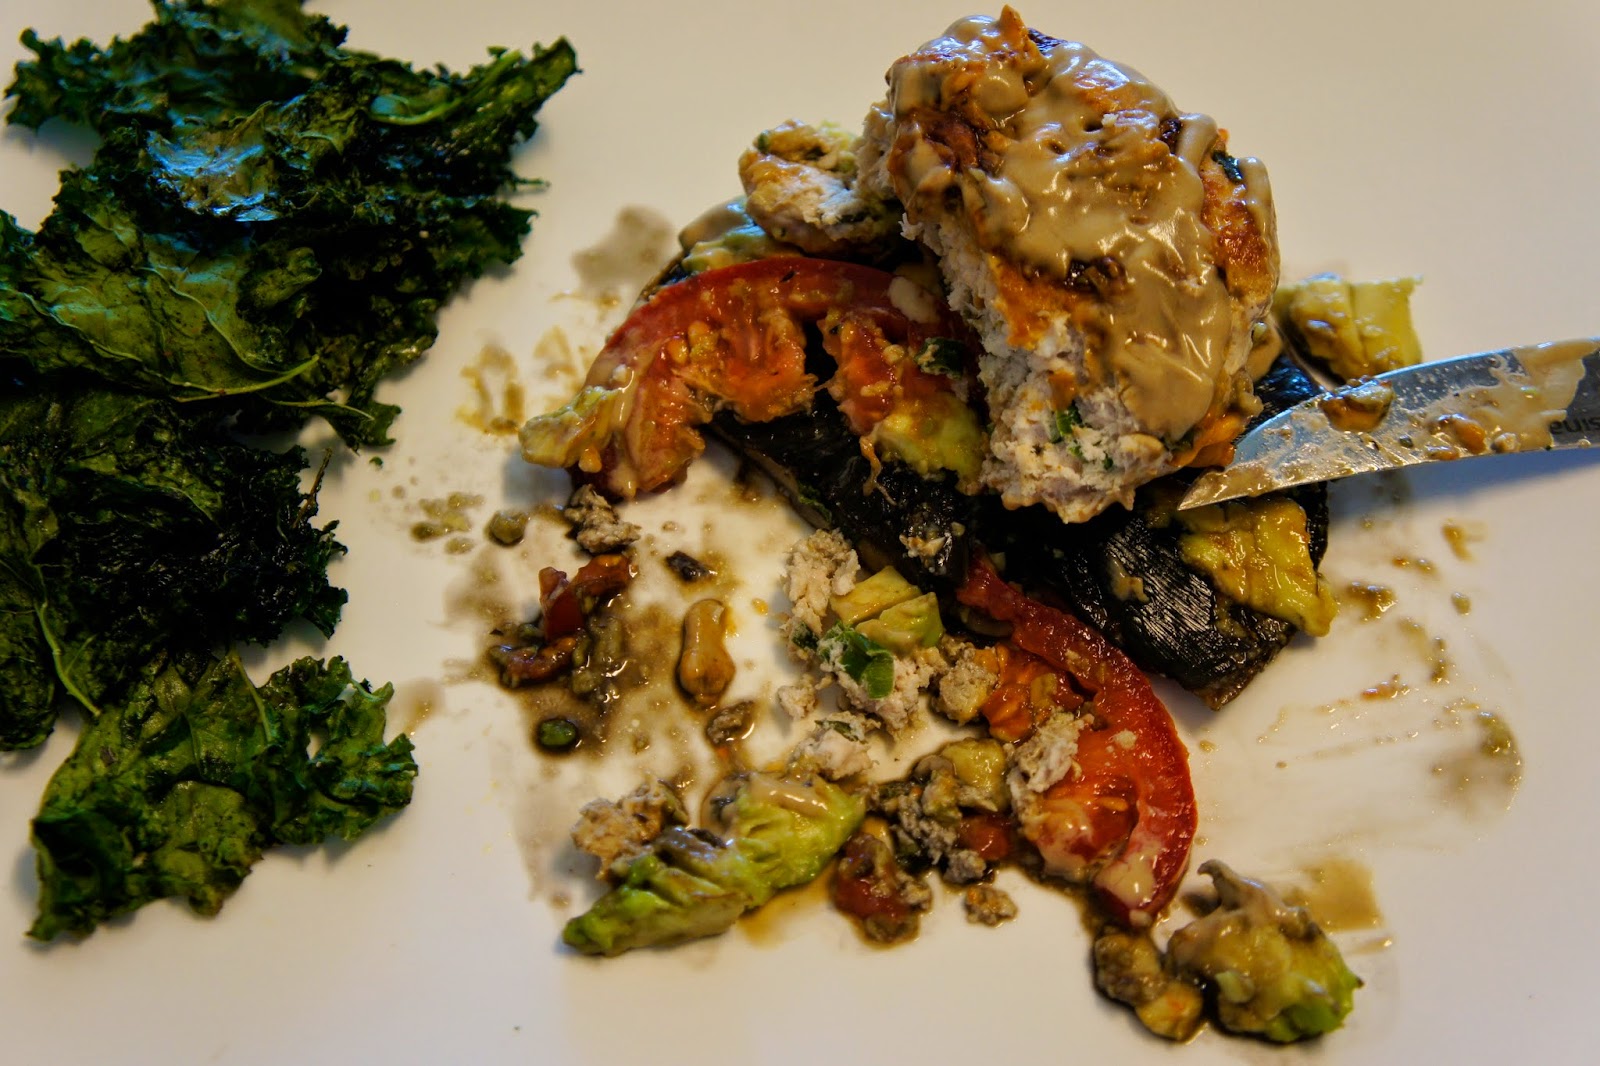
That said, today I was really, really craving a burger. And since my trip to the groceries happened right after my craving, I made it happen. Here's a recipe for a lean turkey burger with a kick. It's simple, healthy, and delicious, so really no excuses for it not being on my (and your) regular meal plan. Enjoy!


Also, I decided to try the whole portobello mushroom bun idea, and while I'm not saying I didn't love it (because I did), there's no reason these can't be in-between regular burger buns!

Turkey Burgers (adapted from Real Simple: Easy, Delicious Home Cooking)
Active time: 20 mins; total time: 30 mins.
  • 4 portobello mushroom caps
  • 1 lb. ground turkey (99% lean; or 93% lean)
  • 3 green onions, sliced thinly
  • 1 tablespoon Dijon mustard
  • 1 tablespoon fresh thyme leaves
  • 1 tablespoon olive or coconut oil

  1. Preheat oven to 400F. Spray portobello caps with olive oil spray and season with salt. Place portobellos on a baking dish and cook for 10 minutes; flip over and cook for another 10 minutes or until steamy. Prepare the meat while you wait for the mushrooms to cook.
  2. In a medium bowl, combine turkey, onions, mustard and thyme; using your hands, mix gently until onions and thyme are distributed. 
  3. Form four 3/4-inch patties and season with salt and pepper. 
  4. In a large skillet, heat olive oil over medium heat. Cook patties until cooked through, and golden, 6-8 minutes on each side. 
  5. Serve burgers over portobello caps and top with favorite burger toppings!
Here is the recipe to the kale chips I prepared on the side.